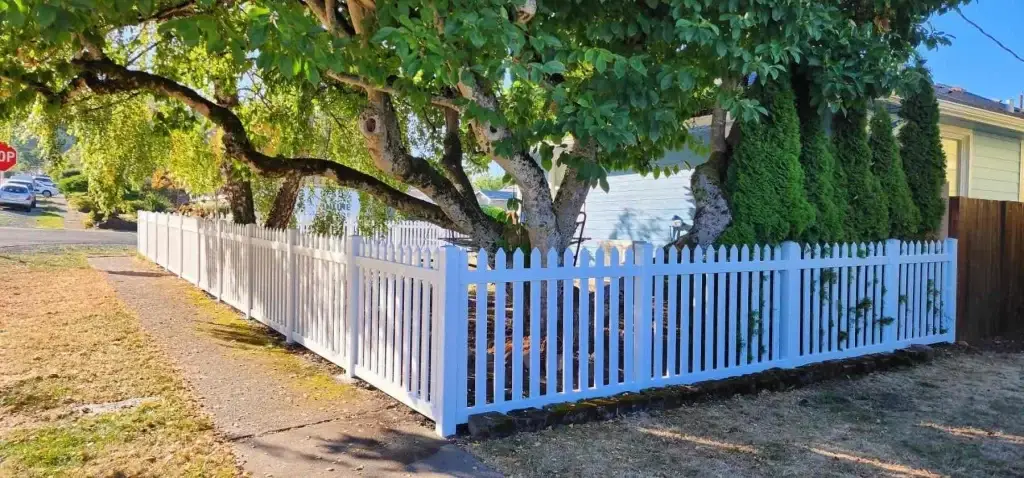
Seattle’s no joke when it comes to fence survival. Between constant rain, stubborn clay soil, and surprise windstorms, your backyard becomes a battleground—and your vinyl fence is right in the line of fire. Vinyl fence repair Seattle is here to help you tackle these challenges head-on and keep your fence standing strong.
Vinyl might promise low maintenance and great curb appeal (and it delivers!), but one cracked panel, shifting post, or growing gap is all it takes to disrupt your peace of mind. And if you’ve ever tried a DIY vinyl fence install around here, you already know: hidden rocks, soggy ground, and permit headaches can turn a weekend project into a month-long saga.
That’s exactly why we put together this no-nonsense guide—just for homeowners in the Puget Sound area.
Inside, you’ll learn:
- 🛠️ How to put together a vinyl fence that actually holds up through soggy Seattle winters
- 🔗 How to connect vinyl fence panels—no awkward gaps or noisy rattling
- 🚫 How to install vinyl fence without concrete, ideal for rental properties or rocky terrain
- 🧩 How to fix a vinyl fence panel in under 30 minutes
No fluff. No filler. Just proven techniques from the team at Inline Fence. Whether you’re repairing storm damage in Ballard or adding privacy in Bellevue, our tips will save you time, money, and frustration. And anytime you see one of our 🌲 pro tips or insights, that’s a local trick we’ve learned the hard way—something you won’t find in generic fence guides.
🛠️ How to Build a Vinyl Fence That Survives Seattle
Vinyl fences can hold up beautifully in the Pacific Northwest—but only if they’re put together right. We’ve seen it time and time again: rushed DIY jobs that buckle after a few months, thanks to Seattle’s unpredictable weather, heavy clay soil, and freeze-thaw cycles. Vinyl fence repair Seattle ensures a proper installation that stands the test of time.
Here’s your step-by-step guide to building a vinyl fence that can handle the worst this region throws at it.
Tools You’ll Want on Hand:
- Post hole digger (auger is a lifesaver in rocky spots)
- Mason’s string + line level
- 4-ft level + rubber mallet
- Shovel + drainage gravel (a must in clay-heavy areas)
- Temporary bracing kits (don’t let those posts lean!)
Step 1: Plan Your Layout (Seattle-Specific)
✅ Call 811 first – it’s Washington state law. They’ll come mark underground utilities for free.
✅ Mark post holes every 6–8 feet. Stick with 6 ft spacing if:
- You’re on a slope (think Queen Anne, Capitol Hill)
- You’re in a windy spot like Alki or Magnolia
✅ Run mason’s string along your fence line. Double-check corners for 90° with your line level.
Step 2: Dig Those Post Holes (The Right Way)
- Depth: At least 30 inches (Seattle’s frost line is 12″, but deeper gives more stability)
- Width: Three times the post size—so 12″ wide holes for standard 4x4s
- Clay soil trick: Dig an extra 4″ and fill with crushed stone for drainage
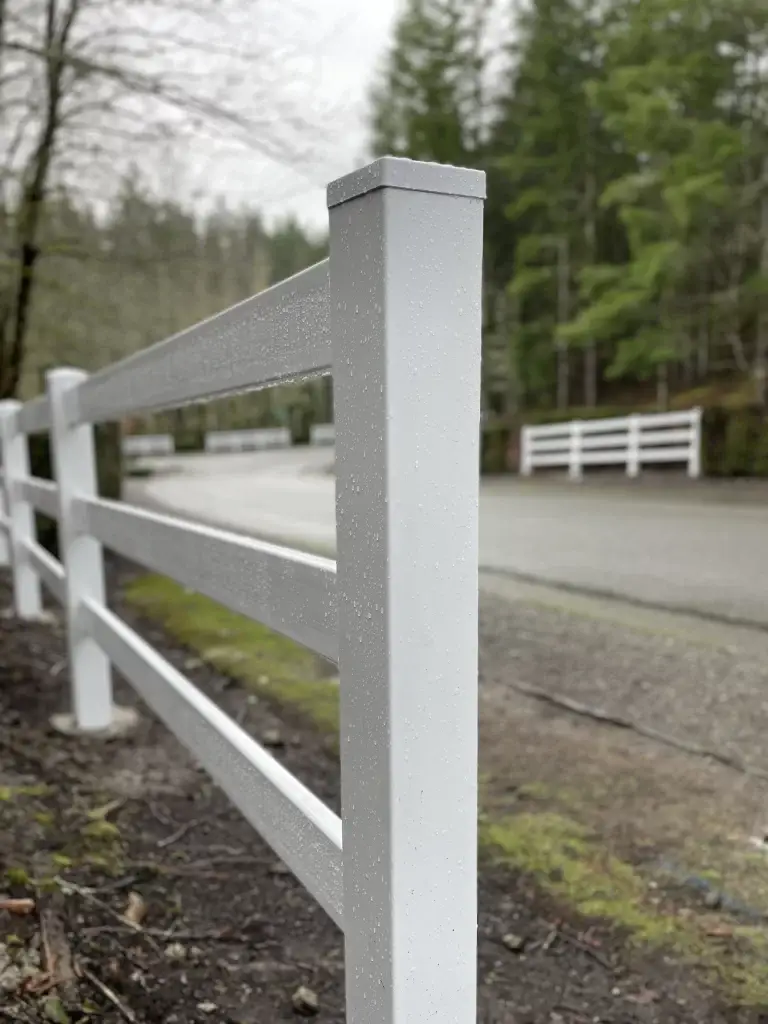
Step 3: Set Your Posts Like a Pro
- Drop your post into the hole
- Pour in 6″ of drainage gravel at the base
- Brace immediately with 2x4s at 90° angles to keep posts upright
- Use your level on two sides of the post to check for plumb
- Backfill with soil in 3″ layers, lightly watering each layer to settle
🌲 Inline Fence Insight:
“In neighborhoods like Green Lake and Ravenna, we always add extra gravel. That water table turns dry-looking dirt into quicksand by winter.”
Step 4: Attach Rails & Get Ready for Panels
- Snap the rails into pre-notched vinyl posts (most systems use this design)
- Double-check that rail tops are level—on sloped yards, you’ll need to install panels in steps
- Reinforce gate posts with at least 60 lbs of concrete, even if you’re using a no-concrete method elsewhere
Quick Troubleshooting
- Posts leaning after 24 hrs? → Re-dig, add 50% more gravel, re-brace tightly
- Rails won’t snap in? → Warm them gently with a hairdryer. Cold vinyl = stiff vinyl
- Holes filling with water? → Rent a sump pump and extend your home’s downspouts away from the dig site
⛔ Skip the DIY if:
Some jobs are best left to the folks who’ve done it hundreds of times—save yourself 8+ hours (and a weekend of back pain) by calling in the pros:
- Yard slopes greater than 15°
- Utility lines nearby (especially Seattle City Light along property edges)
- Permitting hurdles: Seattle requires permits for:
- Fences taller than 6 feet
- Visibility concerns on corner lots
- Homes in historic districts (like Queen Anne or Pioneer Square)
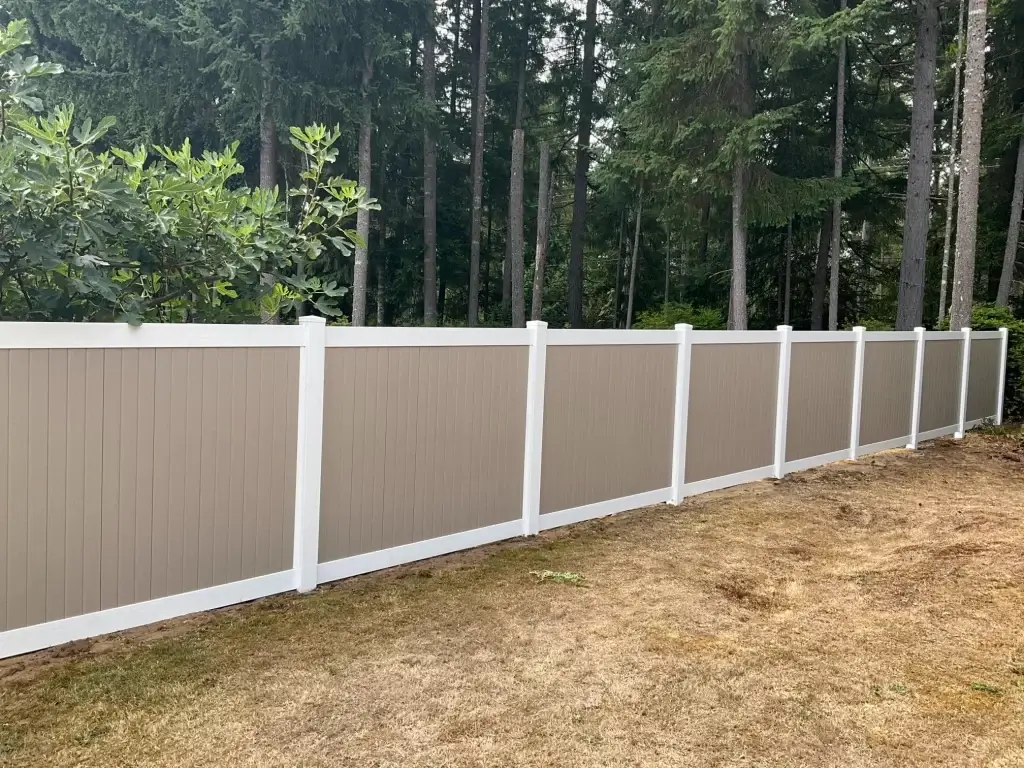
🔗 No Gaps, No Rattles: Connecting Panels the Right Way
Connecting vinyl fence panels might seem simple—until Seattle’s weather, soil, and terrain decide otherwise. Between Puget Sound winds, shifting ground, and moisture that expands and contracts your fence with the seasons, poorly connected panels quickly turn into rattling, warped, or misaligned eyesores. Vinyl fence repair Seattle ensures secure, long-lasting connections that can handle it all.
Here’s how to get it right from the start.
Why Panel Connections Fail in the PNW
In places like Alki Beach, strong winds vibrate loose panels like a drum. In Columbia City, moisture causes rails to warp. And in North Bend? Ice expansion can split tightly packed connections. That’s why vinyl fence repair Seattle ensures even the tiniest gap—or lack of one—doesn’t snowball into a major headache.
Important: Your fence posts must be perfectly aligned and secure before starting this step. If your posts are leaning, your panels won’t lock in properly—and you’re setting yourself up for failure.
Step-by-Step: Connecting Vinyl Fence Panels (the Right Way)
1. Know Your Fence System
- Tongue-and-Groove: Panels slide directly into post sleeves. This is the most common style.
- Bracketed Systems: Hidden clips secure the rails. These are ideal if you’re in areas with frequent wind gusts over 15 mph.
2. Insert Panels with Care
- Start at corners. Tilt the panel tongue at a 45° angle and gently guide it into the groove.
- Lower slowly—never force the fit.
- Seattle Trick: A little paraffin wax rubbed on the tongue (yep, even from a $2 candle) makes things smoother in damp weather.
3. Get Everything Aligned
- Level Check: Place an 8″ line level on the top rail and adjust until it’s perfectly level.
- Mind the Gaps:
- If there’s a ¼” gap, use vinyl shims cut from scrap.
- If there’s no gap at all, that’s bad news—vinyl expands in summer and will buckle.
- Secure Properly:
- Brackets: Snap them into pre-drilled holes.
- Screws: Only use stainless steel—zinc will rust fast in Seattle’s rain.
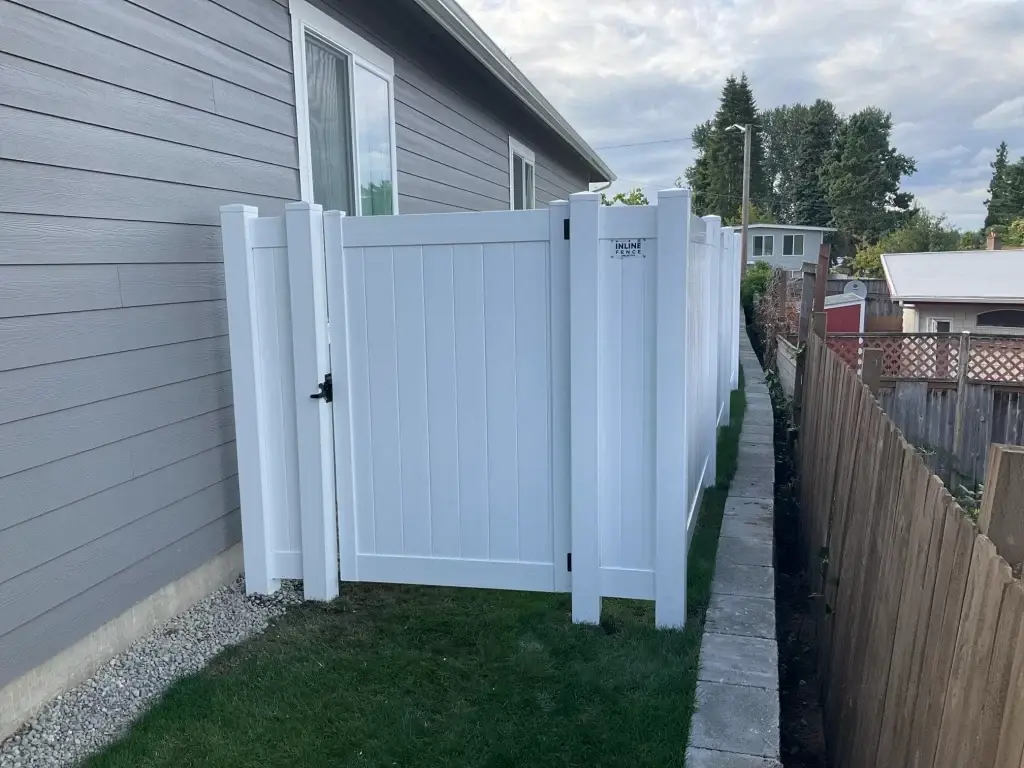
4. Install Gates with Wind in Mind
- Leave a ½” gap at the bottom to allow for swelling and drainage.
- Reinforce with:
- A diagonal brace kit to stop sagging
- Adjustable tensioners for long-term alignment
Seattle-Specific Troubleshooting
Problem | What’s Going On | How to Fix |
Winter rattling | Vinyl shrinks in cold | Add neoprene spacers |
Summer panel bulging | Over-tight install | Remove end caps, re-seat with space |
Persistent gaps | Soil has settled | Re-level your posts (see previous section) |
Saltwater corrosion | Marine air exposure | Spray annually with silicone protectant |
🌲 Inline Fence Pro Tip:
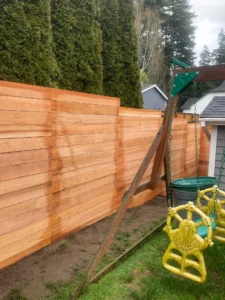
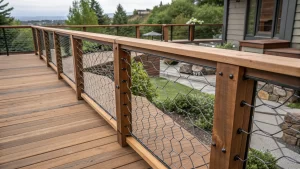
“On waterfront properties (like Mercer Island), we leave an extra ⅜” gap in winter—that way, everything fits snugly by mid-summer. And when we install custom Hog Wire panels, they reduce wind load by up to 40%.”
⛔ Call us if:
Connecting panels gets tricky when:
- Your fence line curves (requires custom-trimmed panels)
- Posts have existing rot or mildew—this could mean bigger structural issues
- You live in a regulated area like Pioneer Square or Ballard Ave
🚫 Skip the Concrete: Smarter Ways to Set Posts
In theory, concrete sounds like the solid choice for fence posts. In practice—especially in Seattle? It can cause more headaches than it solves.
In soggy Ballard backyards, on rocky slopes in Magnolia, or in rental properties that might need temporary fencing, vinyl fence repair Seattle offers smarter, concrete-free solutions that won’t crack, shift, or turn your future removal into a demolition project.
Here’s the good news: Seattle’s terrain may be tough, but we’ve got battle-tested alternatives that pass inspection and save time—without compromising stability.
Why Go Concrete-Free?
- Faster Install: Most of these methods let you attach panels within 24 hours, not the 2–3 day wait time that concrete demands.
- Easier to Repair or Remove: Great for rental homes, temporary fencing, or future landscaping changes.
- Better for Problem Soil: Avoid frost heave, clay traps, or moisture buildup that can damage concrete-set posts.
✅ 3 Seattle-Approved No-Concrete Methods
Method | Best For | Basic Steps |
Crushed Stone | Wet zones (Green Lake, Delridge) | Dig 30″, add 6″ gravel, set post, fill + tamp gravel in layers, top with soil |
Expanding Foam | Rocky ground (Queen Anne, Magnolia) | Dry hole, pour foam, insert post fast, hold plumb, backfill after 15 min |
Drive-In Spikes | Rentals or temp use (U-District, Ballard) | Hammer spike flush, insert post sleeve, secure with bolts |
How to Use Foam (Our Most Popular Method)
- Dig Your Hole
- Minimum 30” deep
- Pump out any standing water—foam won’t expand in wet soil
- Shake + Pour
- Shake your Sika PostFix can ~60 times
- Fill hole ⅓ full (1 can per post)
- Set the Post
- Insert within 60 seconds
- Hold it straight for about 5 minutes
- Backfill + Attach Panels
- Wait 15 minutes, then backfill soil
- After 24 hours, go ahead and install panels (see previous section)
Foam Method Fixes (Real-World Problems & Solutions)
Problem | What to Do |
Foam not expanding | Hole too cold → Warm it up with a hair dryer |
Spike bends early | Pre-drill with a digging bar or metal spike first |
Posts sinking in peat | Add a $8 plastic footing pad (12″ diameter) to distribute weight |
HOA doesn’t like foam | Spray exposed foam with brown Krylon paint to blend in |
🌲 Inline Fence Pro Tip:
“In Renton’s peat-heavy yards, we always wrap the post base in geotextile fabric before foaming. It keeps wet soil from pulling moisture into the foam and compromising the set.”
⛔ When to Call a Pro
- You’re near a shoreline critical area (Seattle requires special anchors + permits)
- Your slope exceeds 20° (you’ll need engineered deadman anchors)
- You live in a historic district (like Pioneer Square or Capitol Hill—some methods may be restricted)
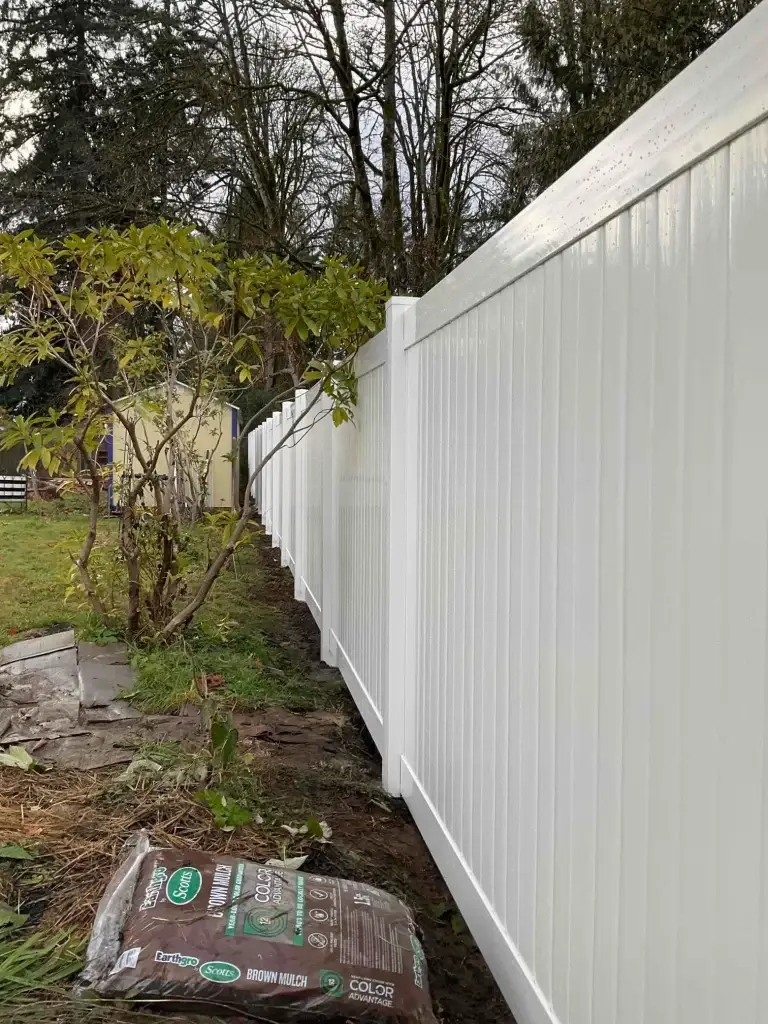
🧩 How to Fix a Cracked or Loose Panel
Vinyl fences are built to last—but here in the Seattle area, they still take a beating. Whether it’s wind gusts off Whidbey Island, sudden sun exposure in Bellevue, or tree branches crashing down in a Ballard backyard, vinyl fence repair Seattle can help fix damaged panels and restore your fence to its former strength.
The real trouble? Most repair mistakes cause more damage than the storm did. Misaligned panels, over-tightened screws, or the wrong fasteners altogether? That’s where half our emergency callouts come from.
Here’s how to handle repairs the smart, Seattle-ready way.
🧩 Step-by-Step: Clean Vinyl Panel Repair
1. Spot the Problem
- Hairline Cracks → Usually from UV damage on south-facing sides (hello, Bellevue sun).
- Shattered Panels → Often caused by impact—falling branches, ladders, soccer balls.
- Warping → Rare, but happens near grills or AC units blowing hot air.
2. Remove the Damaged Panel
3. Find a Matching Replacement
- Bring a sample to a local shop like McLendon’s or Stoneway Supply.
- Seattle Sun Hack: If the panel’s been out for years, replace the adjacent one too so the color match doesn’t stand out like a sore thumb.
4. Install the New Panel
- Slide it in just like you did in Section III—start at an angle and ease it into the groove.
- Use the original screws or clips if you can. New screws can create pressure points that crack the vinyl.
- Leave a ¼” gap to allow for thermal expansion in Seattle’s hot-cold swings.
⚠️ Common Fixes for Common Mistakes
Issue | Why It Happens | Quick Fix |
Panel won’t seat | Posts shifted in wet soil | Re-level posts (see Section II) |
Screws rusting fast | Salt air near the Sound | Dip screws in marine-grade wax |
Cracks keep reappearing | Ground movement/peaty soil | Use flexible poly-rails ($6/ft) |
Inline Fence Emergency Repair Kit (Keep on Hand!)
These are the go-to supplies we always recommend Seattle homeowners keep in the garage—especially if your yard sees wind, salt spray, or surprise branch drops:
- Vinyl patching compound – Great for sealing hairline cracks and small dings without replacing a whole panel.
- Stainless screws – Way better than zinc in our wet climate—won’t rust or streak your fence.
- Neoprene shims – Handy little lifesavers for tightening loose panels or filling minor alignment gaps.
⛔ Call us if:
- More than 2 damaged panels → Often a sign of structural shifting below
- Horizontal cracks near post bases → Could be frost heave from Kirkland-style winters
- Fine “spiderweb” cracks → UV degradation, especially in older panels, usually means it’s time for full replacement
Maintenance & When to Call a Pro
Seattle doesn’t hand out second chances—especially when it comes to fence neglect. A little routine care each season can save you thousands in repairs down the road.
Seattle’s Twice-a-Year Fence Check
Spring (April)
- Rinse off moss with a gentle power wash (use a 40° fan tip, <800 PSI)
- Use a 4-ft level to check for posts pushed out by winter frost
Fall (October)
- Spray a light coat of silicone in the rail grooves (no more squeaky panels!)
- Clear away soil or mulch around post bases—especially in clay-heavy areas—to keep moisture from creeping in
🌲 Inline Fence Pro Tip: “Never use bleach or high-pressure washers—they’ll permanently mark your vinyl!”
⛔ When to Call a Pro:
If you spot any of the following, don’t wait for it to get worse:
What You See | What’s Actually Happening |
Fence leaning more than 5° | Sinking post base or soft soil (common in Ballard) |
Horizontal panel cracks | Likely frost heave damage from last winter |
“Spiderweb” fractures | Long-term UV exposure—usually on south sides |
Rust stains or streaks | Salt air corrosion (especially near Alki/West Seattle) |
Let’s Build You a Vinyl Fence That Won’t Flinch
Tired of battling moss, frost heave, or sun-warped panels on your own? Inline Fence specializes in vinyl fence repair Seattle and has helped homeowners all across Seattle, the Eastside, and South Sound—from Ballard to Bellevue to Tacoma—build fences that stand up to our weather. We handle permits, offer smart add-ons like Hog Wire and steel reinforcements, and always build with longevity in mind.
👉 Get a free quote today and let us build you a vinyl fence that won’t flinch when Seattle’s weather hits back.