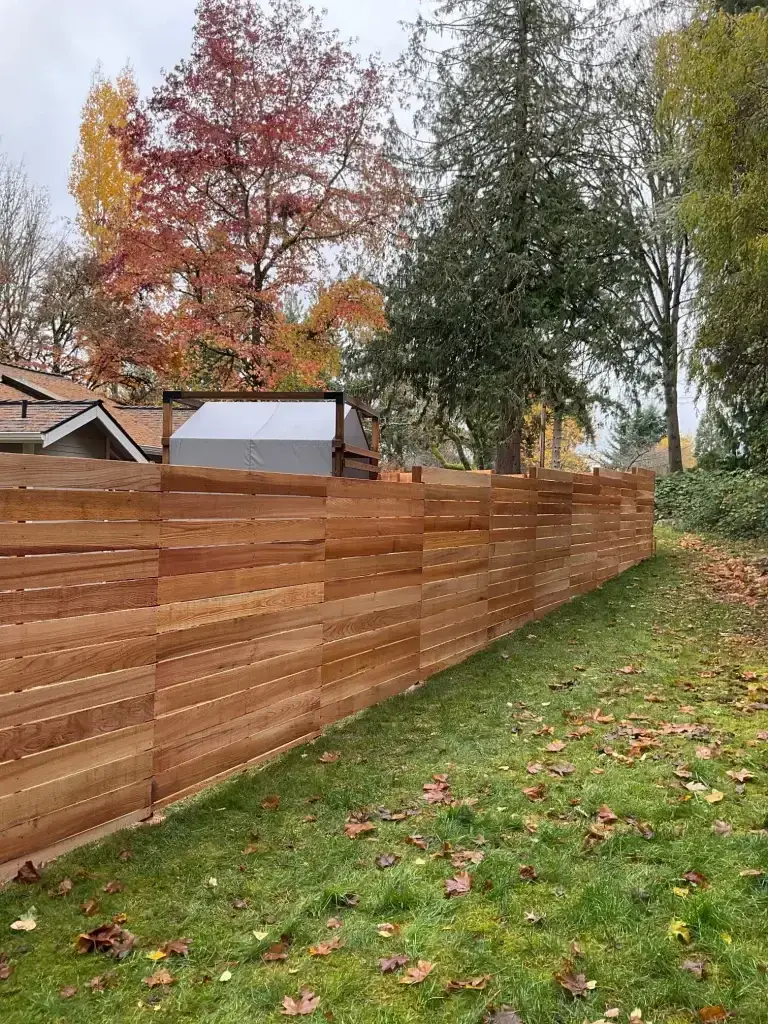
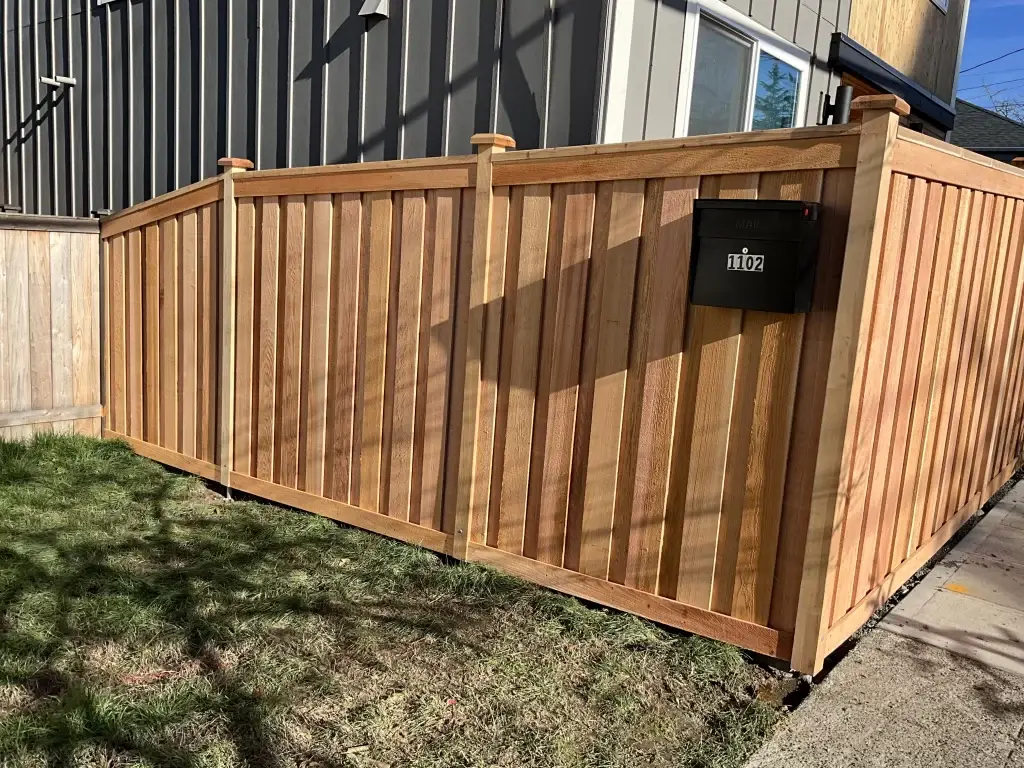
Let’s be honest: cedar fencing is beautiful. It’s the go-to choice for a lot of Seattle homeowners who want privacy, durability, and a natural look that doesn’t scream “cookie-cutter.” But here’s the thing most people don’t think about until it’s too late—the nails. For your Horizontal Cedar Fence Seattle, choosing the right fasteners is crucial.
Yep, the nails.
Fasteners might sound boring, but using the wrong ones? That’s a recipe for rust streaks, warped boards, and a fence that falls apart before its time. And if you’re building a horizontal fence (which, let’s admit, looks pretty sleek), the whole fastening game changes. Different forces, different stress points—it’s not just about hammering boards to posts anymore.
Here’s what we’ll walk through in this post:
- What type of nails to use for a cedar fence?
- How to attach horizontal fence boards?
- Do horizontal fences need rails?
Let’s dive in.
Why the Fasteners Actually Matter (Yes, Really)
Cedar is great because it naturally resists bugs and rot. That’s why so many people love it for Horizontal Cedar Fence Seattle in the rainy Northwest. But it also has oils and tannins that play very badly with the wrong kind of metal. Think: corrosion, black streaks, and fasteners that crumble over time.
And if you’re living somewhere as damp as Seattle? That reaction happens faster than you’d expect.
What Can Go Wrong with the Wrong Nails? (A Lot, Actually)
Here’s what we’ve seen over the years:
- Rust stains that seem to appear out of nowhere — usually caused by basic steel nails that just weren’t up for the job. They bleed orange into the wood and ruin the clean look you were going for.
- Fasteners that give out after a year or two. Cedar’s natural acids can eat away at cheaper metal faster than you think.
- Loose or rattling boards, especially when storms roll in or the wind picks up. Once corrosion sets in, nails lose their grip.
- And maybe the most frustrating thing: split boards, often because someone used the wrong type of nail or skipped pre-drilling.
The point is: if you’re spending money on premium cedar, don’t cheap out on the nails. The wrong choice could undo all your hard work.
Which Nails Actually Work for Cedar Fencing (And Why It Matters)
Let’s break this down without the fluff. When you’re picking fasteners for cedar, you’ve got to think about three things: what they’re made of, how they’re coated, and what kind of head and shank they have. Cedar doesn’t forgive shortcuts.
✅ Solid Options That Last
1. Stainless Steel (Grade 304 or 316)
This is your gold standard, especially in wet or coastal areas like West Seattle or Bainbridge. Grade 316 is marine-grade — it laughs in the face of salt air and rain. These won’t leave streaks or corrode, even after years of storms.
2. Hot-Dipped Galvanized Nails
Not all galvanized nails are created equal. You want ones rated G185 or at least G90 — that means they’ve got a thick zinc coating, not just a pretty finish. These are a solid option for areas that get wet but don’t sit in salty fog half the year.
3. Ceramic-Coated Screws
They’re technically not nails, but a lot of pros (including us) use them, especially in horizontal builds. They grip better, resist rust, and come in finishes that blend nicely with cedar tones. They’re also more forgiving during install — you won’t crack a board as easily.
📏 Nail Specs to Look For
- Length: Usually between 2″ and 2½”, depending on your board thickness
- Shank: Ring-shank gives extra grip — especially helpful if you live in a high-wind zone
- Head Style: Box heads and trim heads are great; they reduce the chance of splitting and leave a cleaner finish
❌ What to Avoid
Some fasteners look fine on the shelf… until your fence has been through a Seattle winter. Avoid:
- Bright steel nails – they rust fast
- Electro-galvanized – thin coating, not meant for outdoor cedar
- Aluminum nails – too soft, they bend before you’re halfway in
- Drywall screws – don’t even think about it; they snap under pressure and rust overnight
Let’s break this down by material, head type, and what NOT to use.
So You’re Going Horizontal? Here’s What Changes
Vertical fences are simple. Gravity helps. But with Horizontal Cedar Fence Seattle? The load shifts sideways, and that changes everything — especially how you fasten your boards.
The nails (or screws) you’d normally use might not cut it here. Instead of just holding the board in place, your fasteners have to deal with tension, torque, and long-term pressure that tries to pull everything apart slowly over time.
🧰 Tips for Fastening Horizontal Cedar Boards (Without Regrets Later)
Use two fasteners at every post
Don’t skimp. One nail in the middle invites twisting. Two nails (or screws) per board per post keeps things even and strong.
Go stainless or ceramic-coated
This is where quality matters. Horizontal boards show off every little imperfection — including rust, streaks, or warped spots. Stainless or high-end coated screws will hold better and age better.
Pre-drill at the ends
Cedar can be touchy, especially when it’s dry. Pre-drilling near the ends of boards avoids splitting — a classic mistake with first-time DIYers.
Trim head screws for the win
These give a clean, almost invisible finish. If you want that minimalist look with tight seams and no bumps, trim heads are your friend.
For larger builds, consider nail guns
On bigger projects, we often use collated stainless nails with pneumatic nailers. Saves time. But for weekend DIYers? Screws give you more control and fewer mistakes.
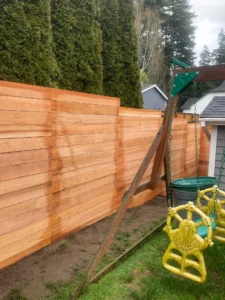
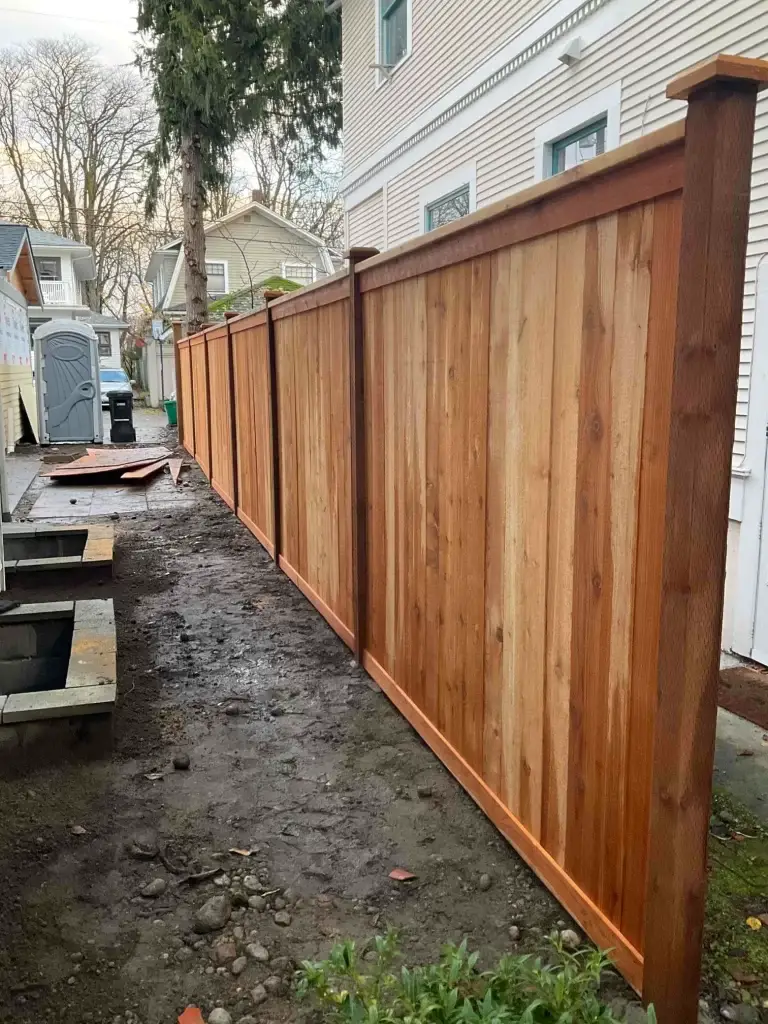
Installing Horizontal Boards the Right Way (This Part Really Matters)
Horizontal Cedar Fence Seattle look fantastic — no question. But they’re also less forgiving than vertical ones when it comes to installation. One slightly crooked post or uneven gap, and the whole thing looks off. You’ve got to be precise, patient, and smart about your layout.
Here’s how we do it — and how you can too.
🔨 Step-by-Step Guide to a Solid Horizontal Build
1. Start with your posts — and get them dead plumb
Everything depends on your post alignment. If your posts are leaning or off-level, it’s going to throw off the whole fence. Use a level and take your time. For horizontal builds, precision is 100% worth the extra effort.
Pro tip: Use metal post sleeves or flare the base to avoid water pooling (a common issue in our rain-heavy Seattle yards).
2. Mind your spacing
Board thickness makes a difference here.
- Use 8-foot spacing for thicker cedar boards like 1×6 or 5/4×6.
- Use 6-foot spacing if you’re using thinner boards or slats. This cuts down on flex and sag over time.
3. Use consistent spacers
Gaps matter. We recommend a ¼” space between boards — enough for drainage and expansion, but still tight enough to keep privacy. Spacers (or even a stack of nickels if you’re in a pinch) help maintain consistency.
4. Secure each board properly
Two fasteners per post, every time. If you’re using metal posts, switch to self-tapping screws made for wood-to-metal connections. They bite better and won’t strip.
5. Level every single board
Don’t trust your eye. Seriously. Even the tiniest slope will ruin the clean lines that make horizontal fences look so sharp. Use a bubble level or a laser, especially on longer runs.
6. Seal the board ends
A lot of people forget this step. But cedar soaks up moisture fast at the cut ends, especially during a wet winter. A little sealant goes a long way toward preventing swelling, cracking, and long-term warping.
Bottom line? Horizontal fences demand more precision — but the payoff is worth it.
Once your horizontal boards are going up clean and level, the next question becomes: what exactly are they attaching to? That’s where the structure behind the boards — the rails — comes in. It’s easy to focus on just the outer layer of the Horizontal Cedar Fence Seattle (the part you see), but if you don’t have a solid framework underneath, even the best fasteners won’t save you.
Think of it like this: your nails or screws are only as strong as what they’re driven into. Without rails, you’re relying on thin cedar boards and spaced-out posts to carry all the weight and tension. Over time, that’s how boards start to sag, pull away, or split where they’re fastened. So before we go any further, let’s break down when rails are necessary (spoiler: it’s most of the time), how many you need, and how they actually support both your boards and your fasteners.
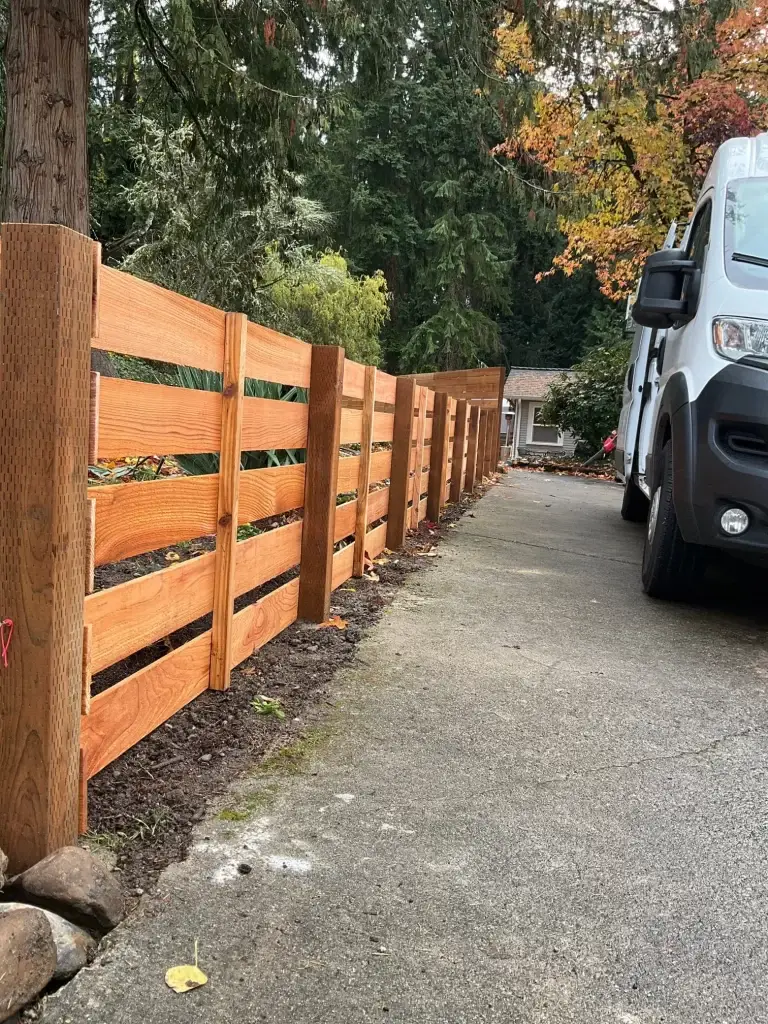
Are Rails Optional for Horizontal Fences? Not If You Want It to Last
This one catches people off guard all the time: “Can’t I just attach the boards straight to the posts?” In theory, sure. But in practice? You’ll end up with sagging boards, stress cracks, and fasteners that loosen long before they should.
Horizontal fences behave differently than vertical ones — gravity pulls across the length of each board, not just downward. That means you need a stable structure underneath to support it. And that’s where rails come in.
🪵 So, Yes — Rails Are a Must
They act like a backbone for your fence. Without them, every board is putting all its weight and stress on just the fasteners. Over time (especially with our wet winters and shifting soil), that’s a recipe for warped boards and shaky fences.
Recommended Rail Setup by Height:
- Up to 4 feet tall → Use 2 rails (top and bottom)
- 4 to 6 feet → Go with 3 rails (add a middle one)
- Over 6 feet → You may need 4 rails, or at least switch to thicker, more rigid boards
🧱 Rail Material Options
- Wood rails (cedar or pressure-treated): Classic and solid. Just make sure they’re sealed and spaced properly.
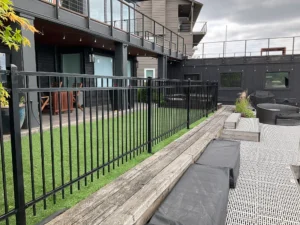
- Metal rails: These are becoming more popular — especially in Seattle’s modern neighborhoods. They create a sleek, low-maintenance look and resist rot completely.
We’ve built a lot of fences in Ballard and Capitol Hill that use powder-coated metal rails with cedar slats — it’s a beautiful mix of clean lines and natural tones. If you want something that feels modern but still warm, this combo is hard to beat.
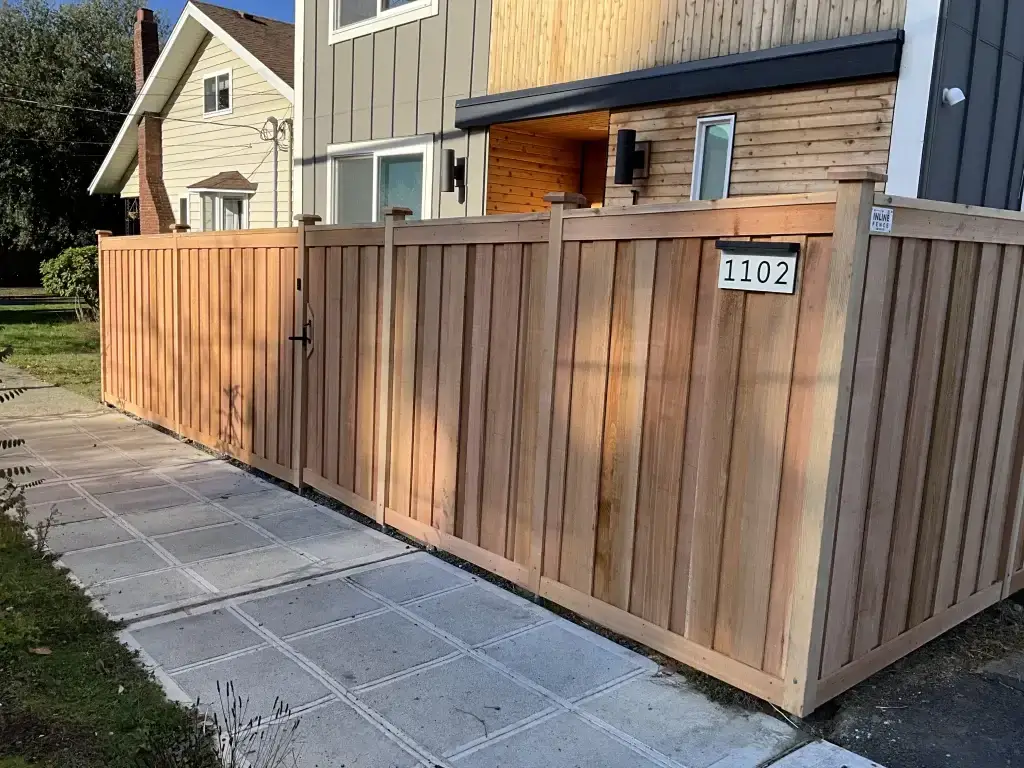
Why Homeowners Trust Inline Fence
At Inline Fence, we’re not just building fences — we’re building long-term solutions that work with the Northwest climate, the unique slopes and quirks of your yard, and the overall look and feel of your home.
We’ve worked all over the Seattle area — from sloped backyards in Queen Anne to windy corners in Shoreline and tucked-away gardens in Rainier Valley. No two fences are exactly alike, and we treat them that way.
We install all kinds of fencing, including:
- Natural cedar fences
- Horizontal board styles (with or without steel framing)
- Vinyl and chain link
- Ornamental iron or modern steel panels
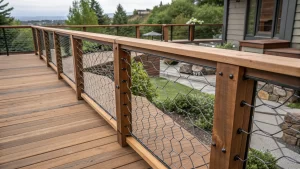
- Hog wire designs framed with wood
- Custom touches like lighting, planter brackets, and privacy upgrades
We handle everything from post-setting to the last trim board, making sure your fence looks just as good from the inside of your yard as it does from the street.
Thinking About a New Cedar Fence? Let’s Build It Right
If you’re planning to replace an old fence or starting fresh on a new property, we’d be glad to help you design something that holds up — not just through Seattle’s wettest months, but for decades to come with your Horizontal Cedar Fence Seattle.
📬 Get in touch for a no-pressure quote — we’ll walk through your options, share what works best in your neighborhood, and help you choose the right materials and layout for your space.
The right wood. The right fasteners. The right build — for your home, your climate, and your peace of mind.